These instructions are for beginners who don’t want to connect a keyboard and a mouse directly to the Raspberry Pi. Instead, we’ll walk you through how to connect a PC on your network to a Raspberry Pi connected to your router via an ethernet cord. You can totally do this! If you follow these steps, you’ll end up with a Raspberry Pi running a port of Debian with the Raspberry Pi Desktop that you can access via Remote Desktop. These instructions are optimized for the Raspberry Pi 4 but should also work with other versions of the Pi.
How to Install an OS and GUI on Your Raspberry Pi 4
Let’s borrow a concept from cooking called mise en place. That means preparing everything you’ll need before you start, to the extent you can.
Hardware You Will Need
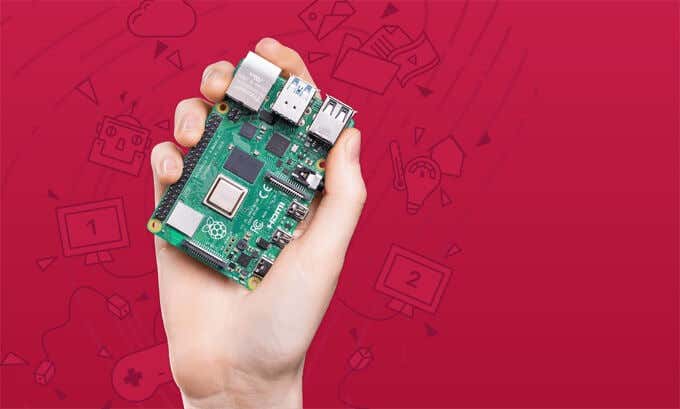
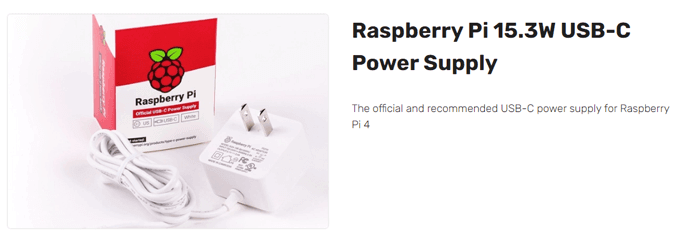
Raspberry Pi 4.SD card. The card should be at least a class 10 and the fastest one you can get your hands on, preferably a V90 UHS-II.SD card reader for your computer.Ethernet cord to connect the Raspberry Pi to your router.A way to supply power to your Raspberry Pi. You could use a power over ethernet Pi HAT if you have a power over ethernet switch that can provide power to the Pi. If you don’t have a switch like that, get an official Raspberry Pi 4 USB-C power supply instead.
Note: Buying a knock-off power supply or using one you have lying around is a recipe for failure. It’s one of the most common and impossible-to-track-down problems—a power supply that isn’t beefy enough. (If you go the Pi Hat route, you’ll need a case that accommodates the hat.) If you don’t have a case, make sure that you don’t touch any metal while you’re handling the Pi. Better yet, just get a case.
Download These Two Programs to Your PC
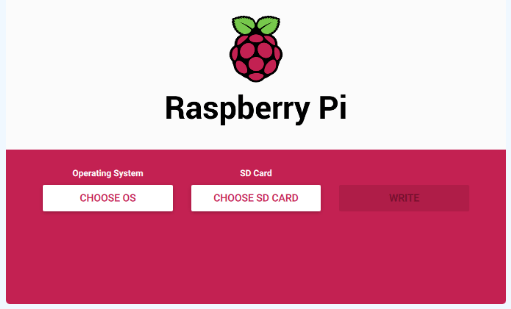
Install and Launch Raspberry Pi Imager
Depending on how your SD card reader is connected to your computer, this could take a while, so be patient while it installs. Maybe find something else to do for a bit.
Create a File Called SSH
Transfer the SD Card to Your Raspberry Pi 4
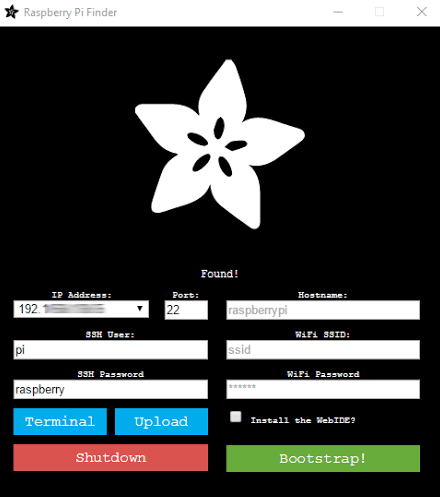
Find Your Pi’s IP Address and Install xrdp
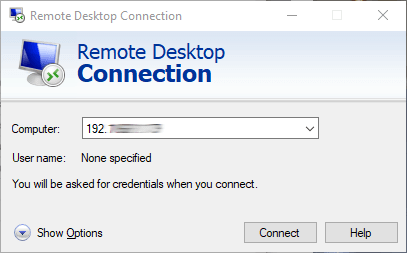
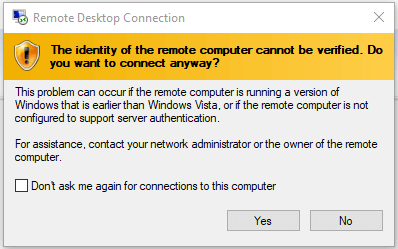
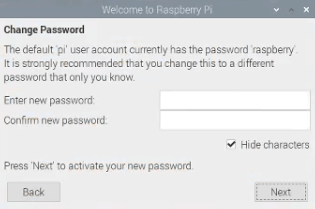
Connect to the Pi with Remote Desktop and Change the Pi’s Password
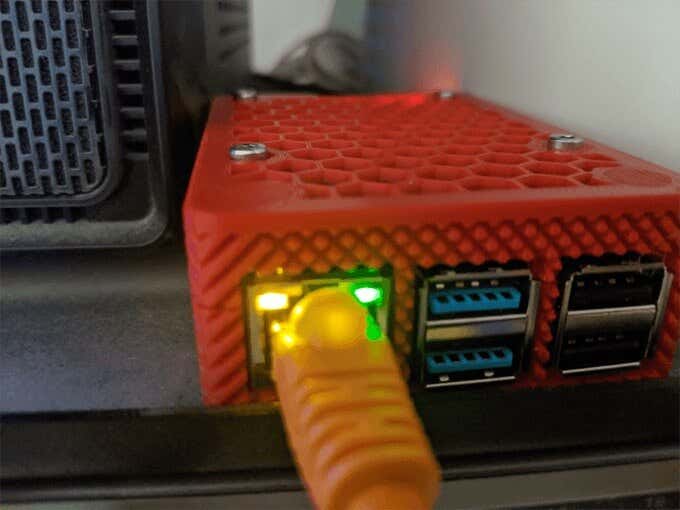
Pro tip: Never just unplug your Pi. Always power it down or you could damage your SD card. It will corrupt the memory, and you’ll have to start over. Unplugging it may work a hundred times in a row, and then on the one hundred and first time, it’ll corrupt your memory. Stay safe!
What’s Next?
If you successfully followed the steps above, you now have a Raspberry Pi 4 running an operating system with a graphical user interface that you can connect to and interact with from another computer via Remote Desktop. Now all you have to do is decide how to use it!