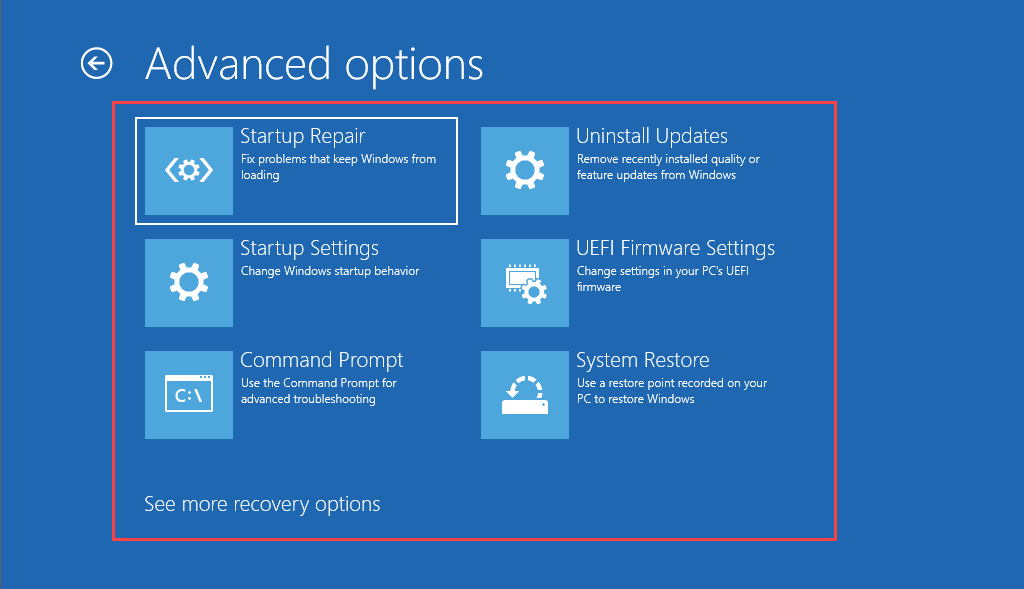
You’ve got multiple ways to boot Windows 11/10 into the Windows Recovery Environment. But that depends on the state of the operating system. For example, is Windows functional? Or do you have trouble even accessing the desktop area? Regardless, the methods below have you covered. Once you boot into the Windows Recovery Environment, read on to learn more about the system recovery options that you can use to fix Windows 11/10.
Boot via Start Menu
Assuming that you can boot into Windows 11 or Windows 10, the most convenient way to get to the Windows Recovery Environment is by restarting your computer as usual via the Start menu. The only extra thing you must do is press and hold the Shift key as you select the Restart option.
Boot via Settings App
The Settings app in Windows 11 and Windows 10 features a dedicated option to reboot your PC into the Windows Recovery Environment. Using the method above is faster, but it should be helpful if you have trouble with the Start menu. Begin by pressing Windows + I to bring up the Settings app. Then, go to System (or Update & Security in Windows 10) > Recovery and select the Restart now option within the Advanced startup section.
Boot via Security Screen
You can also get Windows 11/10 to boot into your system recovery options via the Security Screen. It’s the best method to use while dealing with an operating system that keeps freezing. Press Ctrl + Alt + Del to open the Security Screen. Then, select the Power icon at the screen’s bottom-right, hold down the Shift key, and choose Restart.
Boot via Lock Screen
If you have trouble logging into Windows 11 or Windows 10, you can try booting into the Windows Recovery Environment via the Lock Screen. Again, select the Power icon and select Restart while holding down the Shift key.
Boot via Windows PowerShell
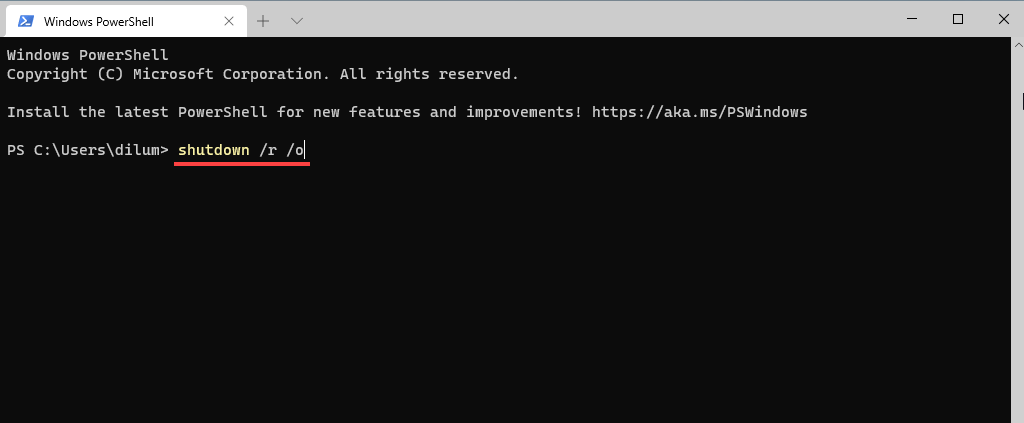
The Windows PowerShell console (which you can access via the programs list on the Start menu) offers another way to load the Windows Recovery Environment. Just type the following command and press Enter: shutdown /r /o By default, Windows should boot into WinRE within 30 seconds. If you run into any trouble, try re-running the command with extra parameters. That force-closes all programs and reboots the operating system instantly: shutdown /r /o /f /t 0 Another command that can help you access the system recovery options is the reagentc /boottore command. However, you must run it in an elevated Windows PowerShell console and then reboot your computer manually.
Boot via Hardware Recovery Button
It’s also possible to access WinRE by pressing a specific function key (e.g., F11, F10, or F9) on your PC immediately at startup. Don’t expect it to work on every desktop or laptop device.
Boot via Automatic Repair
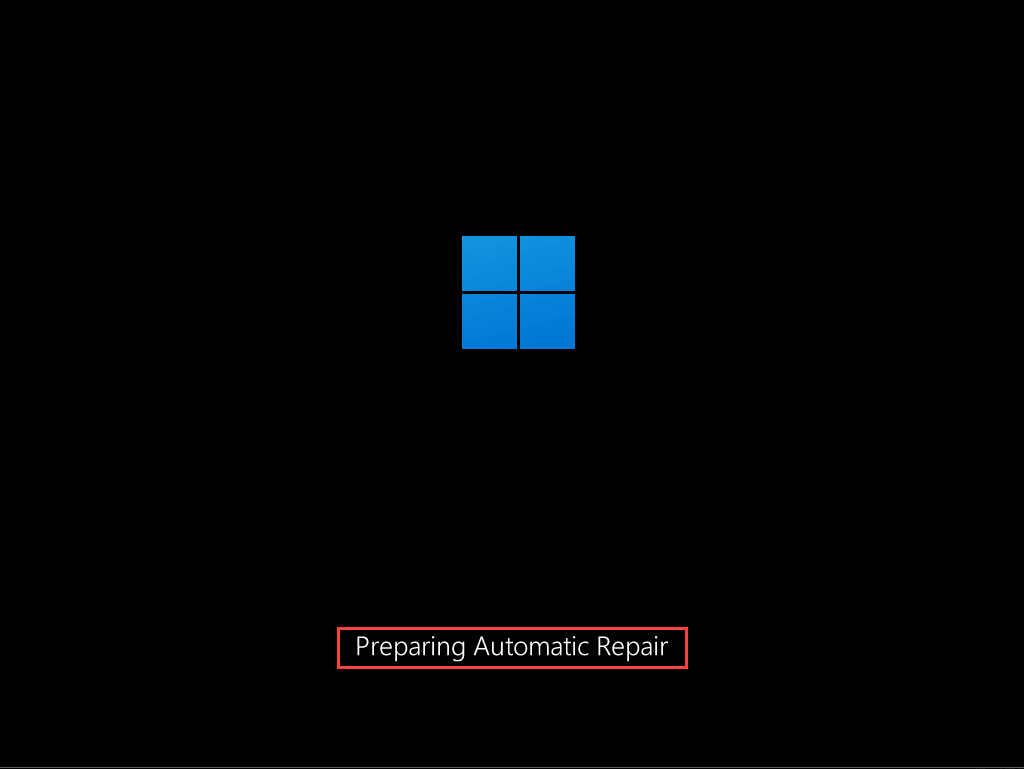
If Windows 11 or Windows 10 fails to load or freezes at startup, you can force your computer to enter the Windows Recovery Environment by forcibly shutting it down three times. To do that, press and hold the Power button until the screen turns off. You should see the words Preparing Automatic Repair flash underneath the Windows 11/10 logo on the screen after the third attempt. Select Advanced Options when prompted to enter WinRE.
Boot via Using Installation Media
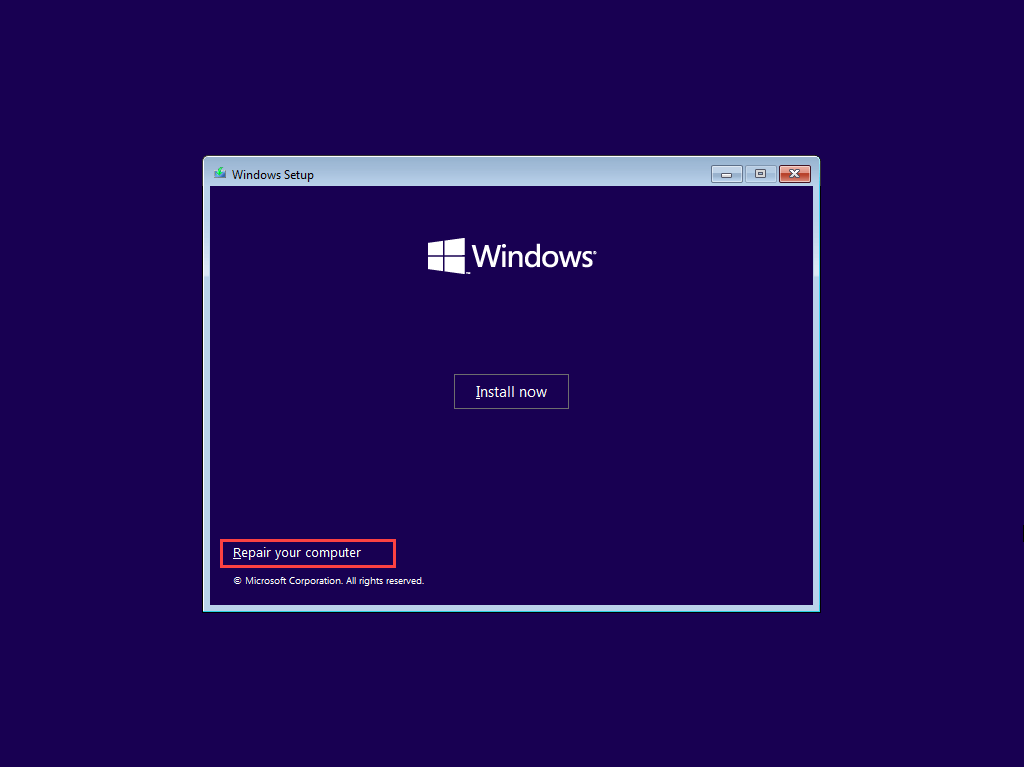
If you have a Windows 11/10 installation USB or disc, you can use it to enter the Windows Recovery Environment. Provided that you’ve then set up your computer to boot from a USB or DVD, press any key when your computer asks you to at startup. On the Windows Setup that then shows up subsequently, select Next > Repair your computer.
Using the Windows System Recovery Options
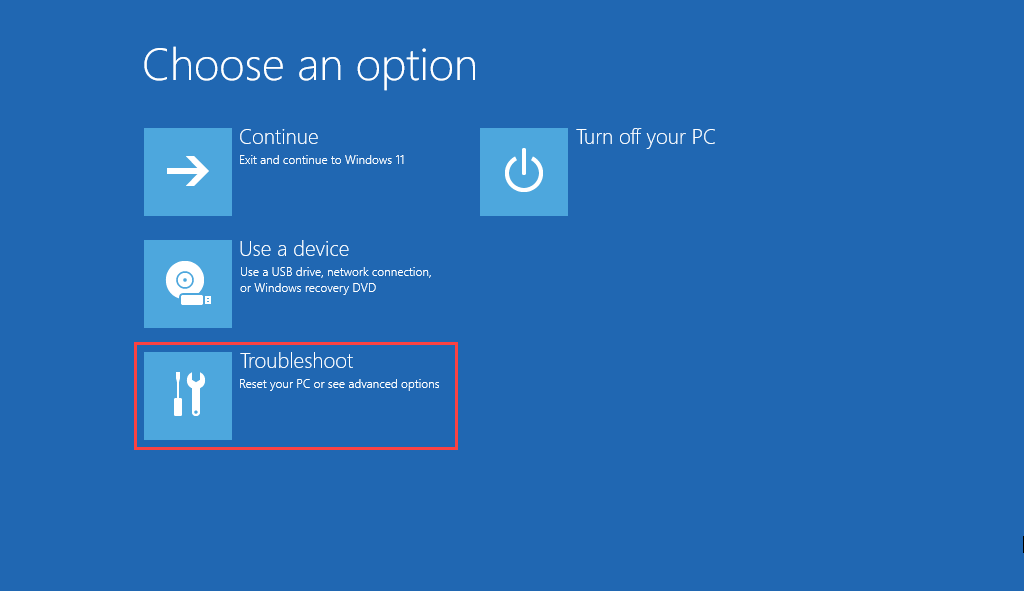
Once you enter the Windows Recovery Environment, you must select Troubleshoot > Advanced Options to access your system recovery options. Or, you can choose Continue to boot into Windows 11/10 or Turn off your PC to exit and shut down your computer. Here’s a brief rundown of the system recovery options that you have access to in WinRE: Startup Repair: Prompts your computer to run a series of automatic repairs and helps fix problems preventing Windows 11 or Windows 10 from loading. It’s best to run this while troubleshooting Blue Screen of Death (BSOD) errors. Startup Settings: This allows you to change the default startup behavior of the operating system. For example, you can use it to launch Windows 11/10 in Safe Mode. Command Prompt: Loads the Command Prompt console. You can use it to perform various command-line tools such as the System File Checker and Check Disk Utility. Uninstall Updates: If an issue occurred right after applying a feature or quality update for Windows 11/10, this option lets you roll it back. UEFI Firmware Settings: Helps you access your UEFI firmware settings quickly. System Restore: If you’ve set up System Restore in Windows 11/10, this option lets you undo harmful changes by reverting your computer to an earlier state. System Recovery Image: This lets you use a system recovery image to restore the data on your computer. Reset this PC: This option is available after selecting Troubleshoot in WinRE. You can use it to reset Windows 10 or Windows 11 to factory settings. You also get the opportunity to keep personal data intact.
Start Fixing Windows 11/10
Using the system recovery options in the Windows Recovery Environment is not the solution to all issues that crop up in Windows 11 and Windows 10. If you continue to experience problems, you might want to take that extra step and reinstall Windows from scratch.


